I think digital art was all about talent, brushes, and expensive tools. But once I started creating more often, I realized the real difference was workflow. A clean process helps ideas move faster from rough concept to polished artwork without messy layers, lost files, or endless revisions.
A strong digital art workflow for creators makes your art easier to plan, edit, export, and reuse. Whether you create illustrations, blog visuals, social media graphics, digital products, thumbnails, or portfolio pieces, the right system can save time and make your work look more professional.
Why Creators Need a Clear Digital Art Workflow
Creators do not just make art for fun. Many also need content for websites, shops, social platforms, newsletters, client projects, and personal brands. Without a process, one artwork can turn into hours of guessing, correcting, and searching for missing files.
A workflow gives every project a clear path. You know what to do first, what comes next, and when the artwork is ready to export. It also helps you stay consistent, especially when you need to create often without burning out.
Step 1: Start With a Simple Creative Plan
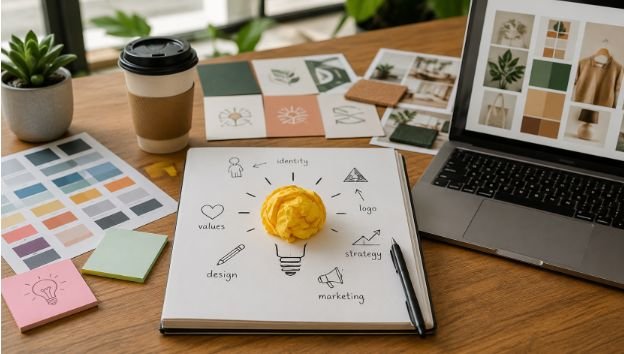
Before opening your drawing app, decide what the artwork needs to do. Is it for a blog header, Instagram post, printable product, YouTube thumbnail, website banner, or client project? The purpose affects the size, style, color, detail level, and final export format.
Write down the main idea, mood, audience, and deadline. This small planning step prevents random design choices later. If the artwork is for content, also think about where it will appear and how quickly someone should understand it.
Step 2: Build a Reference Board
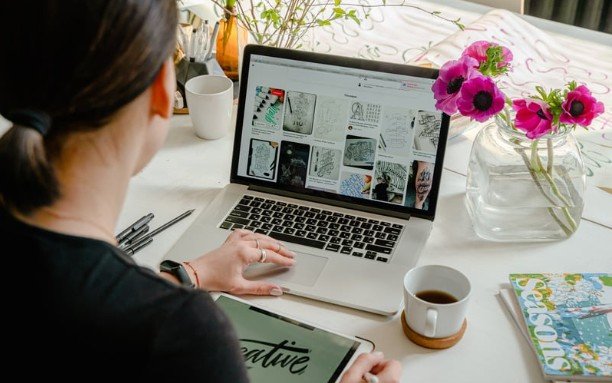
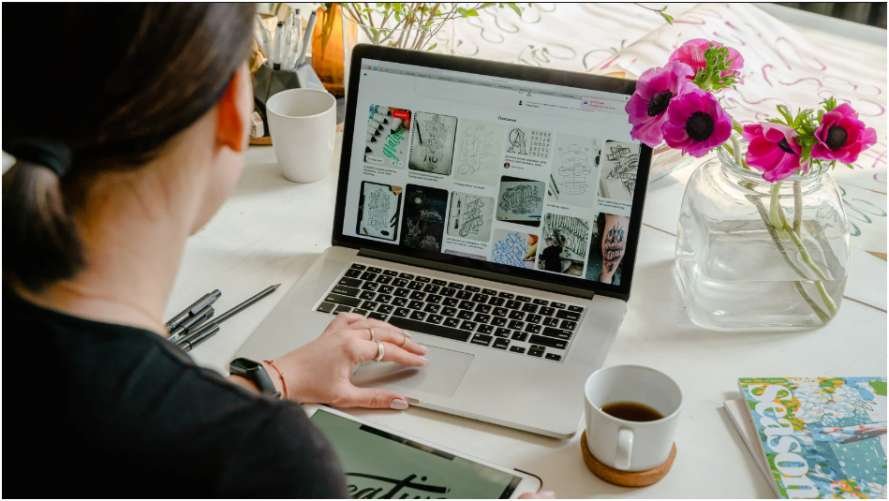
Reference images are not cheating. They help with poses, lighting, colors, textures, composition, and visual accuracy. A good reference board can include photos, color palettes, sketches, old artwork, brand elements, and examples of the style you want.
Keep references organized in one folder or canvas area. Use them for guidance, not copying. This keeps your digital art process focused and helps you avoid wasting time searching for inspiration midway through the project.
Step 3: Set Up Canvas, Layers, and Folders
One of the biggest workflow mistakes is starting with a messy file. Choose the correct canvas size based on the final use. For social media and blog visuals, create larger files so the final image stays sharp after resizing. A clean splash canvas also helps you build strong artwork from the first sketch.
Use clear layer names like sketch, linework, base color, shadows, highlights, texture, background, and final effects. Group related layers into folders. This makes editing easier, especially if you need to change colors, remove elements, or adjust the artwork for another platform.
Step 4: Sketch Before You Perfect
A rough sketch gives your idea structure before you spend time on details. Keep this stage loose. Focus on layout, shape, movement, and balance. Do not worry about perfect lines yet.
After the rough sketch, create a cleaner sketch or line layer. This is where you fix proportions, improve composition, and prepare the artwork for color. Working in stages keeps the process calm and prevents over-editing too early.
Step 5: Color in Clean Stages
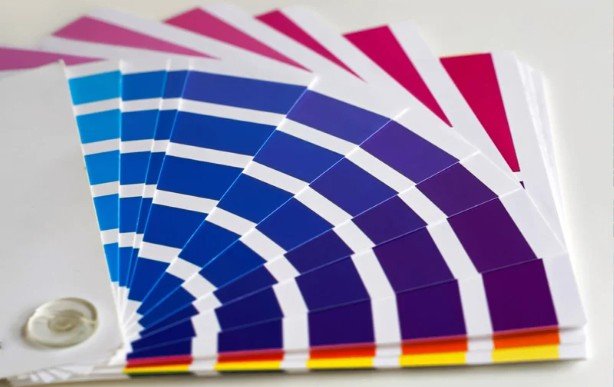
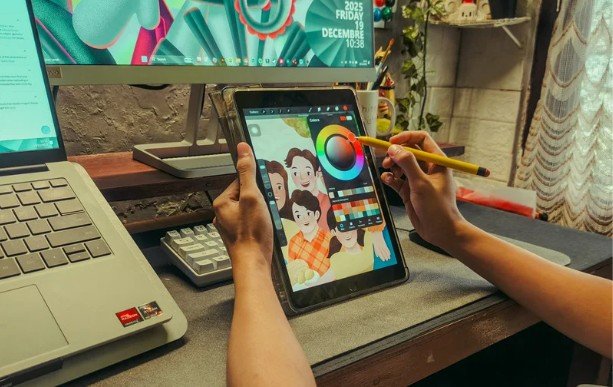
Start with flat base colors before adding shadows or highlights. This helps you test the overall look quickly, especially when you create digital art at home. Once the base colors feel right, add shading, light, texture, and small details.
Use separate layers for shadows, highlights, and effects. This gives you more control and makes revisions easier. If a color does not work, you can change it without damaging the entire artwork.
Step 6: Use Shortcuts, Brushes, and Templates
A smart digital art workflow for creators should reduce repeated work. Save your favorite brushes, color palettes, texture layers, canvas sizes, export presets, and design templates.
Keyboard shortcuts and tablet buttons can also speed up your process. Set shortcuts for undo, brush size, color picker, zoom, rotate canvas, duplicate layer, and merge layers. These small changes can save a lot of time when you create daily.
Step 7: Review Before Exporting
Before exporting, zoom out and check the artwork as a whole. Look at contrast, readability, spacing, edges, and focal point. Then zoom in to check rough lines, unwanted marks, layer mistakes, and color gaps.
If the artwork is for a blog or social post, preview it at the size people will actually see. A design that looks great close-up may not work as a small thumbnail.
Step 8: Export for Each Platform

Exporting is part of the workflow, not an afterthought. Save your editable file first. Then export platform-ready versions for your website, social media, print shop, portfolio, or client folder.
Use PNG for crisp graphics and transparent backgrounds. Use JPG for smaller web images. Keep high-resolution images for future editing and compressed versions for faster website loading.
Step 9: Organize and Back Up Your Files
Create folders by project name, date, client, platform, or content type. Keep editable files, exports, references, and final versions separate. Use simple names like blog-header-final.png or character-sketch-v2.psd.
Back up your files using cloud storage, external drives, or both. Losing one finished artwork is frustrating. Losing an entire portfolio is worse.
Common Digital Art Workflow Mistakes
Many creators skip planning and start drawing too soon. This often leads to unclear artwork and too many edits. Others use too many unnamed layers, export only one size, or forget to save editable files.
Another common mistake is chasing new brushes instead of improving the process. Tools help, but workflow creates consistency. A simple system used every day is better than a complicated setup you never follow.
Frequently Asked Questions
1. What is the best digital art workflow for creators?
The best digital art workflow for creators starts with planning, references, sketching, clean layers, base colors, rendering, review, export, and file backup.
2. How can beginners speed up digital art?
Beginners can speed up digital art by using templates, naming layers, saving brushes, learning shortcuts, and finishing artwork in clear stages.
3. Which tools are best for digital art?
Popular tools include Procreate, Photoshop, Clip Studio Paint, Krita, Adobe Fresco, and drawing tablets from brands like Wacom, XP-Pen, and Huion.
4. How do I keep digital art files organized?
Use project folders, clear file names, version numbers, separate export folders, and regular backups so every artwork is easy to find later.
Final Thoughts
I believe better digital art comes from both creativity and structure. When I use a clear workflow, I spend less time fixing messy files and more time improving the actual artwork.
For creators, this matters even more. Your art may support a blog, brand, shop, portfolio, or social presence. A repeatable workflow helps you create faster, stay consistent, and turn ideas into polished visuals without feeling lost every time you open a blank canvas.